Churn it up: Here’s how to make your own butter
Hinterland Homesteading Column
with Racheal Pascoe
There are lots of aspects about Homesteading which are really satisfying, but the one to top it all is homemade butter. I like it because instead of eating a margarine product which they say is one molecule away from being plastic, we can quite simply make our own butter and we know what it contains. It can be another food at your place that you can control.
How to make butter
It is just so easy to do! Butter is made of milk or cream, whichever you use it needs to be full fat. Ideally it would be wonderful to live down the street from a dairy, but let’s face it, not many people do. Don’t be put off though, you can still make terrific butter at home from grocery store cream. I buy the full fat cream from the grocery store, and it makes lovely butter every time.
Gone are the days of the butter churns which were manual kitchen instruments. Just pull out your food processor, pour your cream in there and put it on a medium setting for a few minutes. You might like to add a sprinkle of salt or maybe try your first batch without salt. Then you will get a feel for what it tastes like.
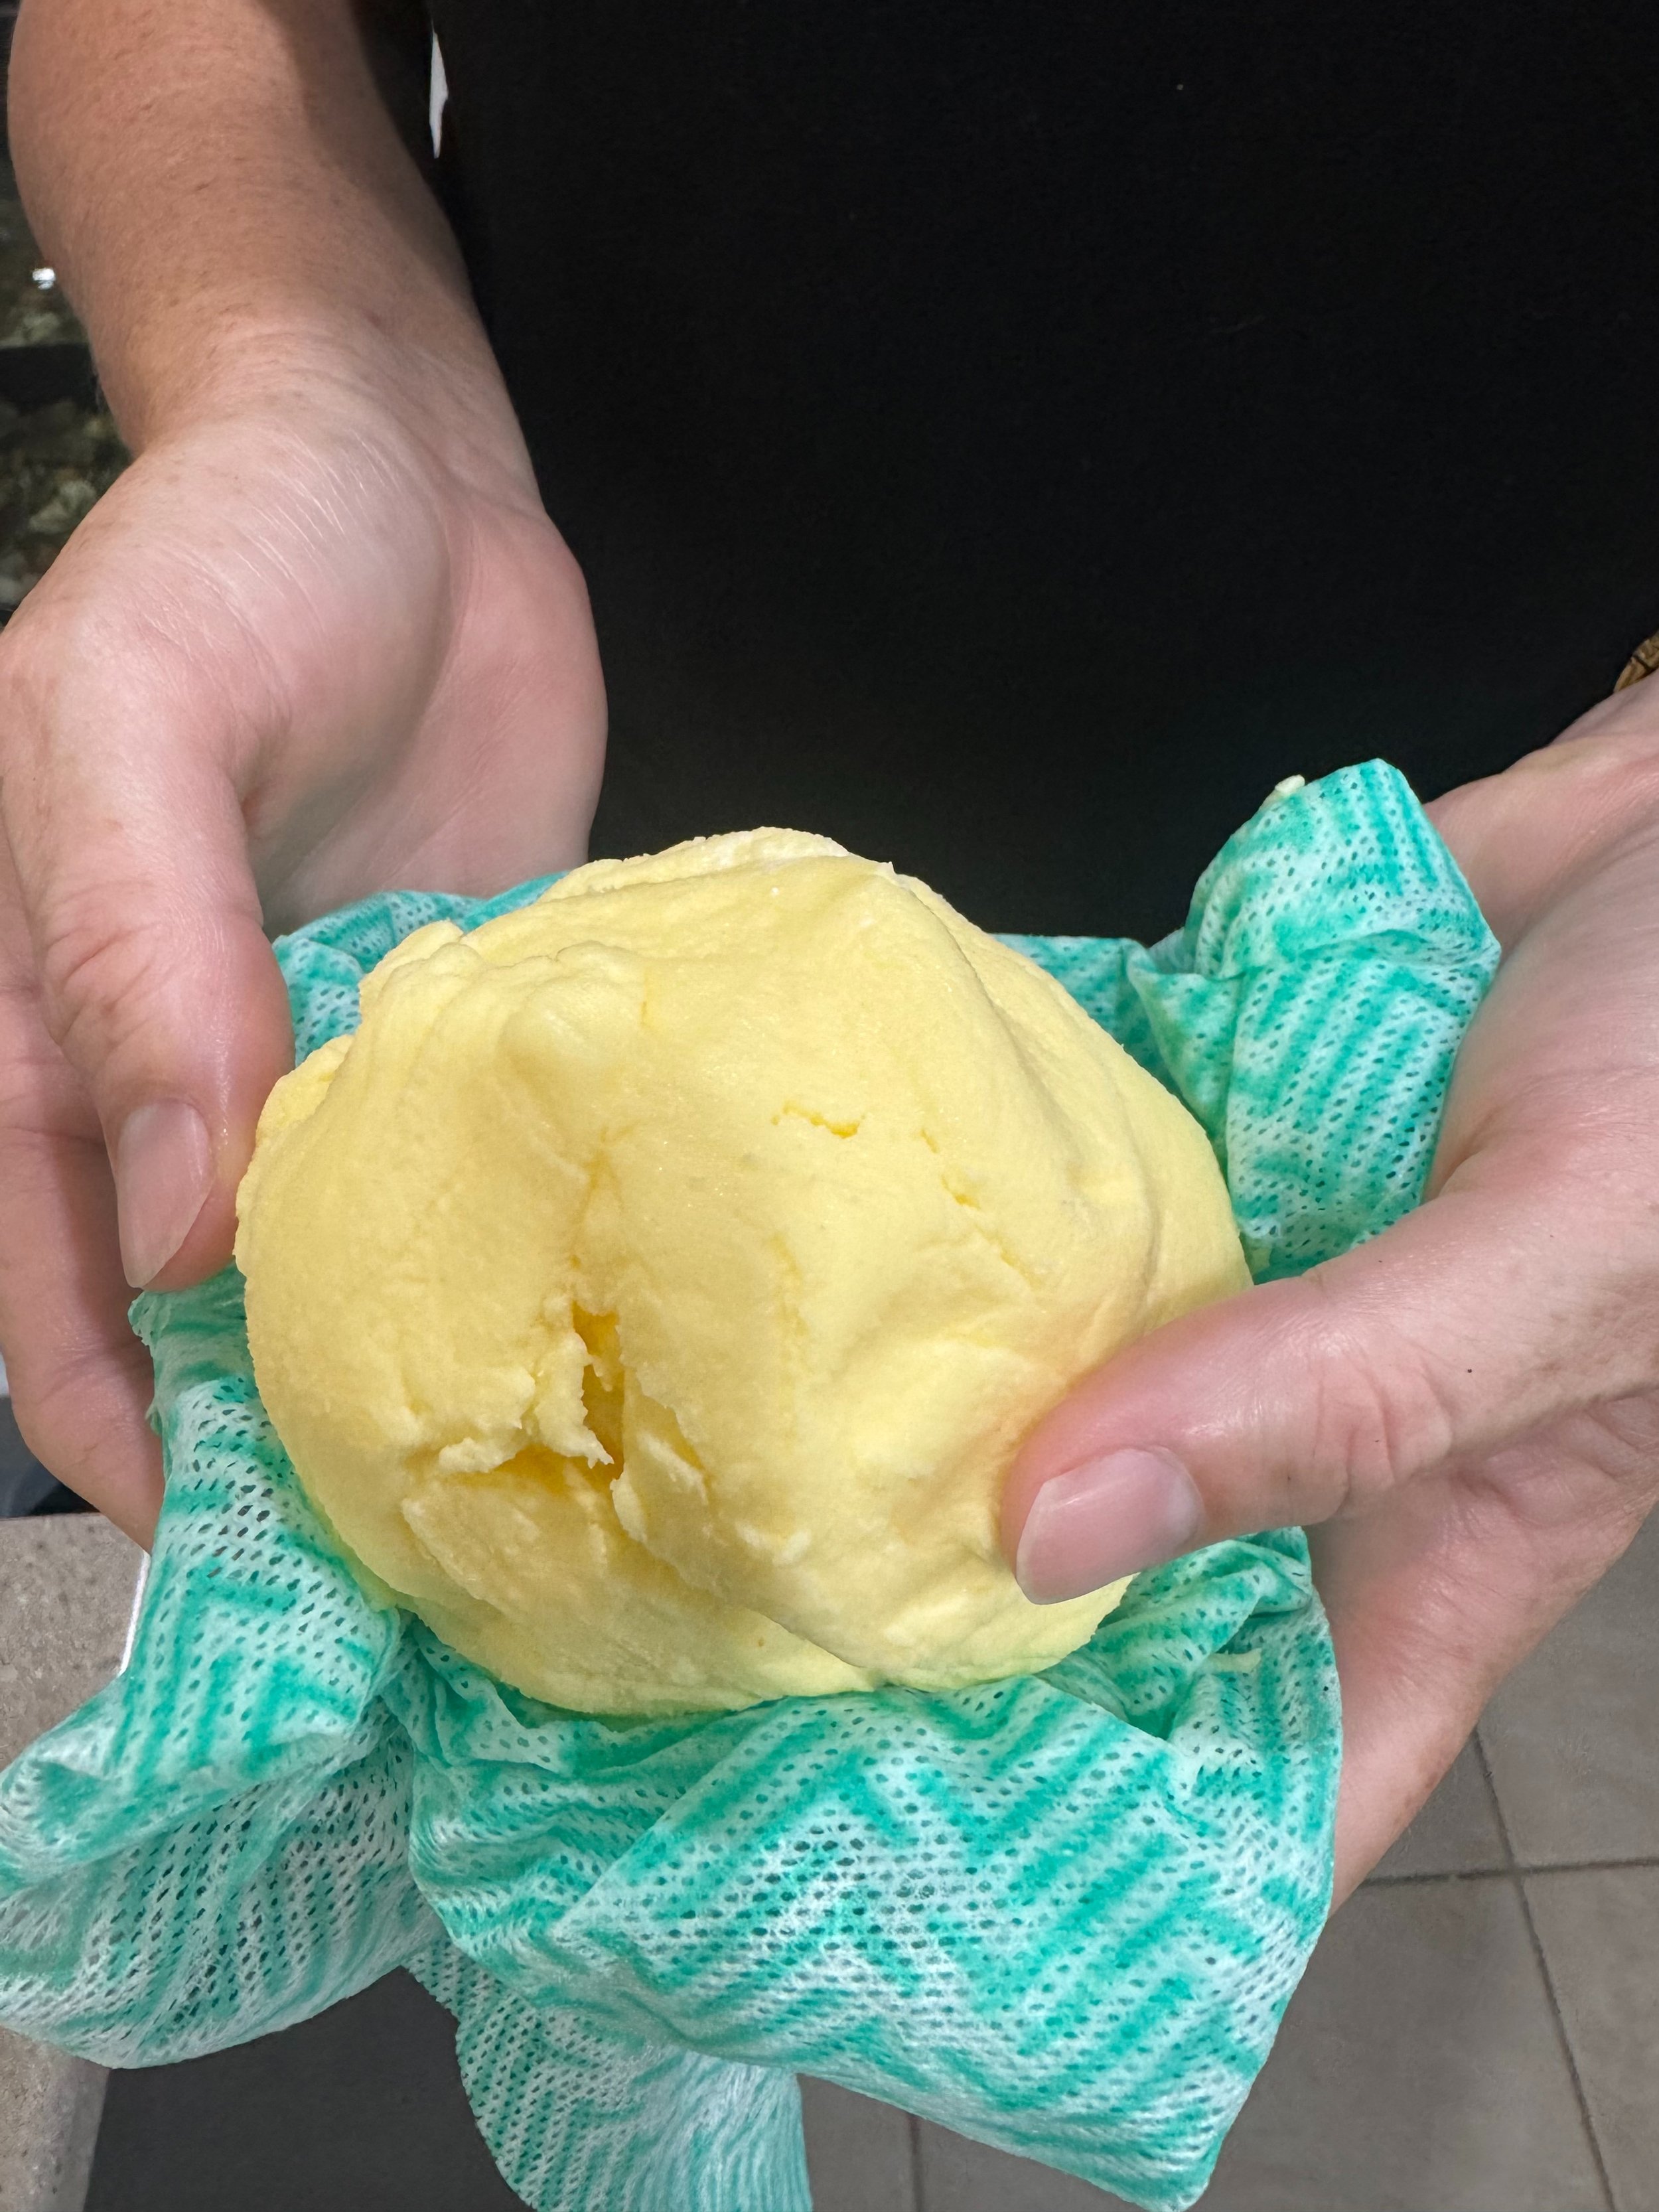
At first not much will seem to happen, but as it thickens you will notice the cream will turn from white to a yellow and the buttermilk will separate. You will know when this is happening as it will look like lumps of cottage cheese. Keep the food processor going a little longer.
When it is thick, lift the butter out and strain it through a clean cotton cloth, new chux or simply squeeze it with your hands. What you want to do is squeeze the buttermilk in to a bowl. Once you have the butter, pop it into the fridge for 10 mins to chill it.
Once chilled you can shape it with your butter paddles, or 2 spatulas from the second drawer! A 600ml cream will make almost 250-300g of butter. If you don’t have a food processor or are just wanting to share a fun time with the kids. You can pour the cream into a jar and pop a clean marble inside. Take turns in shaking the jar continuously and the same process will happen as above. The cream will separate and turn into butter. This is a great exercise to show children how to make homemade butter. They will love the hands on aspect.
Buttermilk
What to do with the buttermilk which is left over? It isn’t actually traditional buttermilk as such, as buttermilk needs lactic acid to give it the tangy taste, which in times gone by it would have been allowed to start to sour before use to get that taste. What you have can be used in recipes though. You can easily look up some recipes for pancakes, scones etc to use it up or give your doggie a treat.
More economical?
Making butter yourself it not really a cost saving exercise, I think it works out about the same when you factor in buying the cream, power, your time etc. It is more for the benefit of knowing what is in your food and expanding on our understanding of the source of our food, the processes and eliminating nasties. Homemade butter is creamier, fluffier and tastes delicious!
Homemade butter will last for 2-3 weeks. It can be stored on the kitchen bench in the cooler months here in South East Queensland, but in the warmer months it needs to go in the fridge. You can also freeze your homemade butter for about 9 months.
If you were fortunate enough to source a lot of milk or cream, you could have a big butter making session and store it for later.
Give making your own butter a go – it is a fun process and simply tastes just that – simple, no other nasties added.